Previously I had already published a post on implementing CU1, this is a similar post describing my experiences and findings while installing Cumulative Update 2 for Configuration Manager 2012 Service Pack 1 in my lab environment.
Important: there is a bug in CU2 which prevents you from installing additional Secondary Sites once the CU has been applied. Just now Microsoft has published a blog post on the issue which confirms the issue and also lists possible workarounds.
The installation binaries for the Cumulative Update can be found here: http://support.microsoft.com/kb/2854009
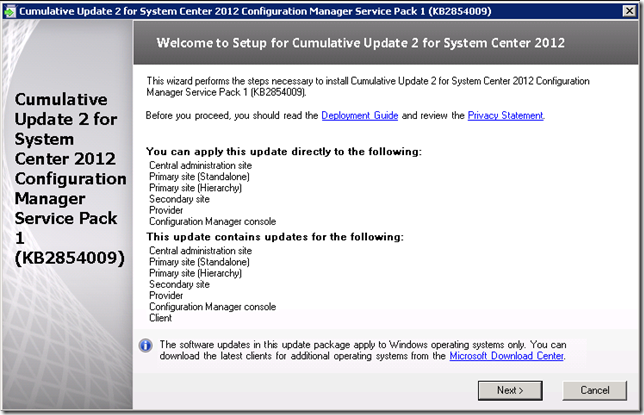
As per the documentation, this CU is applicable directly to the following components:
- CAS
- Primary Sites
- Secondary Sites
- SMS Provider
- Console
Additionally it contains updates for the following components:
- CAS
- Primary Sites
- Secondary Sites
- SMS Provider
- Consoles
- Clients
Once we have reviewed the documentation and obtained the binaries we are ready to proceed with the installation. The lab environment infrastructure is rather simple: a standalone server with the site database and all roles hosted on a single (virtual) machine. No secondary sites at implementation time of this CU.
Site
Log on to the site server and make sure all open console connections are closed before running the installer:
Click Next on the Welcome Screen.
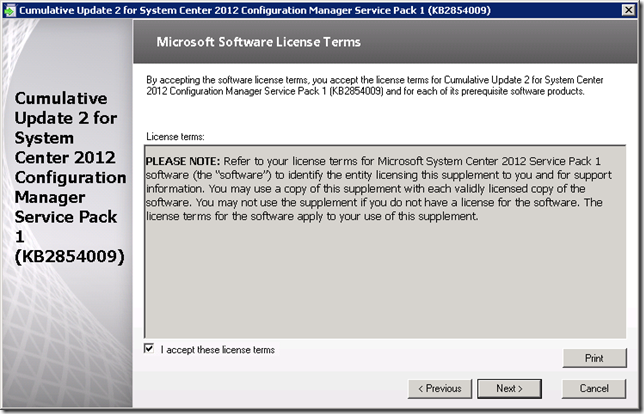
Accept the license terms and click next.
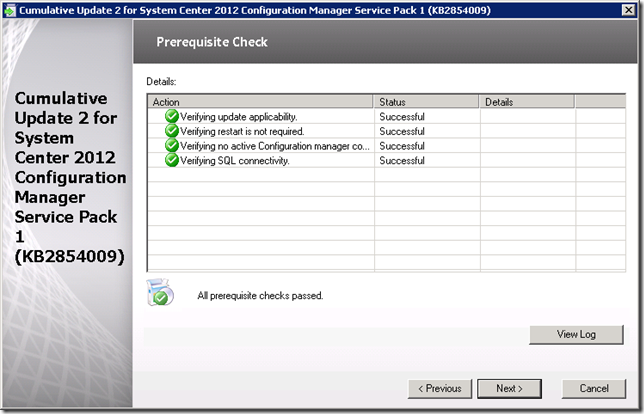
Make sure all prerequisite checks are successful and click Next
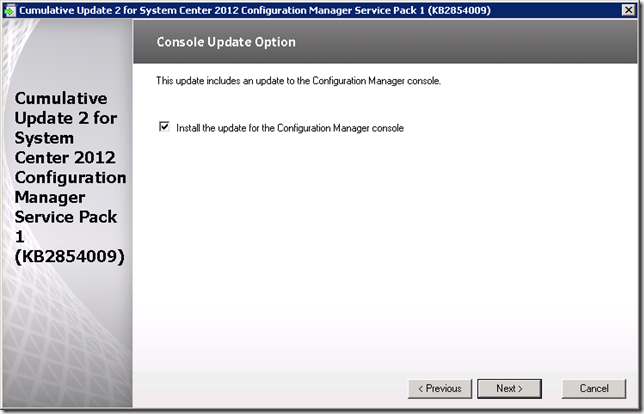
Enable the box to also update the console and click Next. Note this is new in CU2 – previously in CU1 the console update package had to be redistributed to the site server to update the locally installed console.
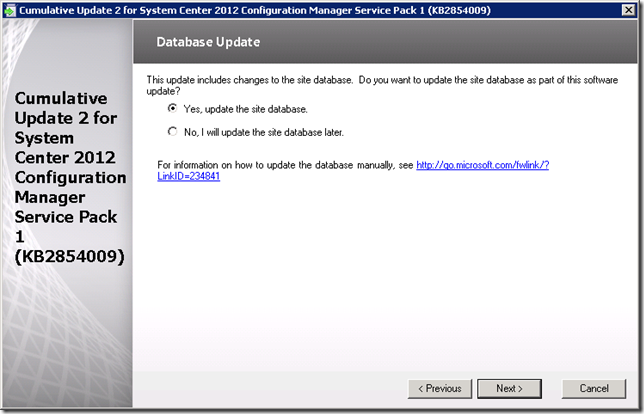
Select the option to update the site database and click Next.
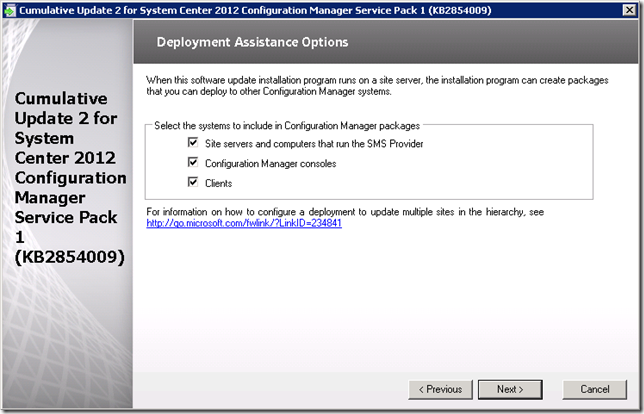
Leave the default setting to create the server, console and client packages and click Next. These packages will be useful later on for updating the remaining components in our infrastructure.
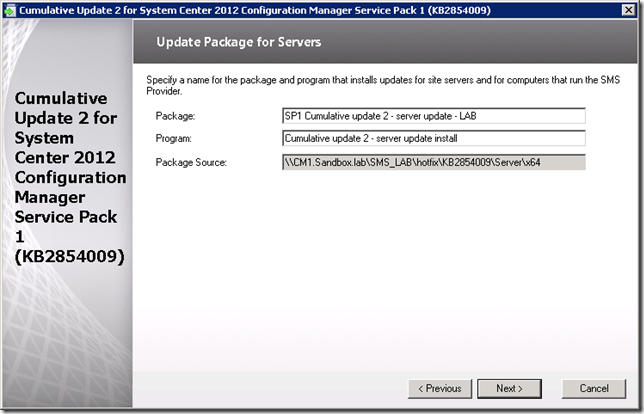
Provide package and program names for the Server package and click Next.
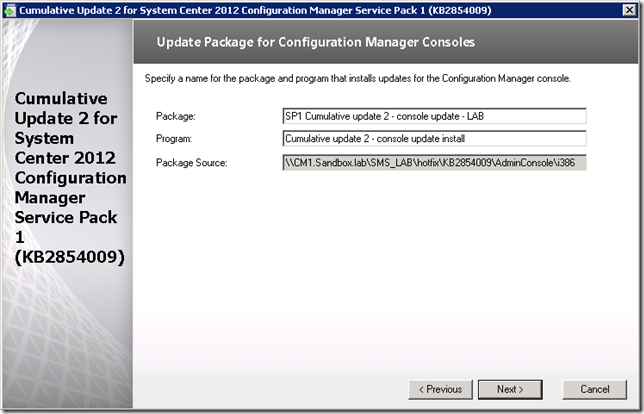
Provide package and program names for the Console package and click Next.
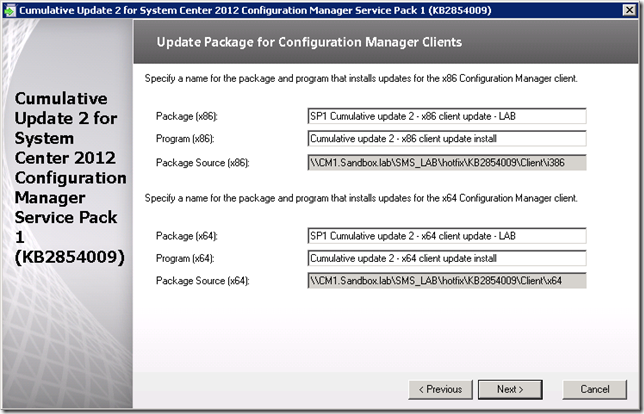
Provide package and program names for both Client packages and click Next.
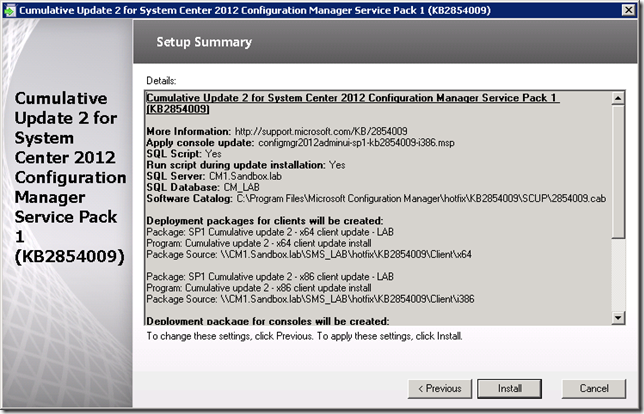
Review the setup summary and click Install.
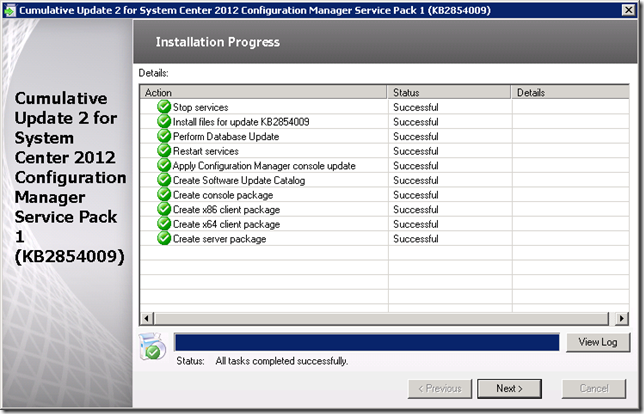
Click Next when the installation steps have been completed successfully.
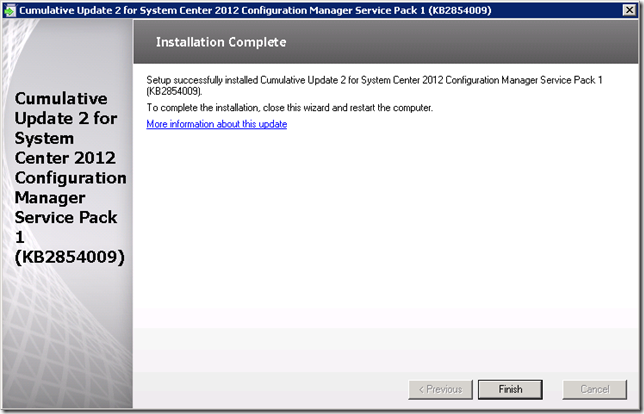
Click Finish to close the installation wizard.
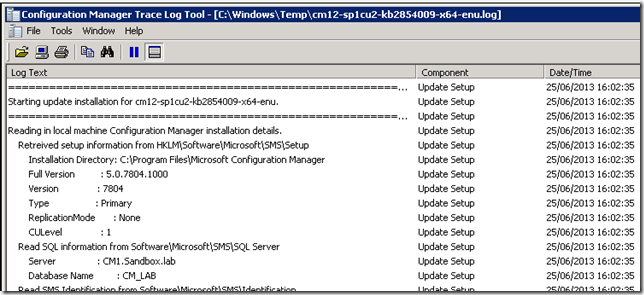
Note that more detailed information on the installation process can be found in the log file located in the Windows\Temp folder.
CU2 Installations are properly registered in ARP.
Entry for the site server:
And for the console:
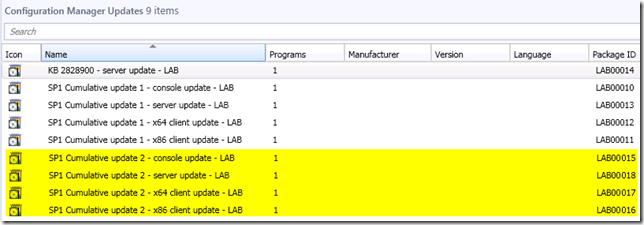
In the Software Library workspace the packages for further distributing the CU2 have been created:
Do not forget to distribute the content to your distribution points. This is not done automatically during the implementation of the CU.
Consoles
My console on the site server has been updated already as part of the CU2 installation process. See above for details.
Any remaining remote consoles I could easily upgrade using a deployment and a query based collection containing machines with a console installed. This is the query I will use:
- select SMS_R_SYSTEM.ResourceID,SMS_R_SYSTEM.ResourceType,SMS_R_SYSTEM.Name,
SMS_R_SYSTEM.SMSUniqueIdentifier,SMS_R_SYSTEM. ResourceDomainORWorkgroup,SMS_R_SYSTEM.Client from SMS_R_System inner join SMS_G_System_ADD_REMOVE_PROGRAMS on SMS_G_System_ADD_REMOVE_PROGRAMS.ResourceId = SMS_R_System.ResourceId where SMS_G_System_ADD_REMOVE_PROGRAMS.DisplayName = "Microsoft System Center 2012 Configuration Manager Console"
Once the update is installed it is visible in ARP:
Clients
Upgrading any existing clients in the environment can easily be done using the pre-created packages. We will created query based collections for targeting the deployments. This is an example query for all x86 SP1 clients:
- select * from SMS_R_System inner join SMS_G_System_SYSTEM on SMS_G_System_SYSTEM.ResourceId = SMS_R_System.ResourceId where SMS_R_System.ClientVersion = "5.00.7804.1000" and SMS_G_System_SYSTEM.SystemType = "X86-based PC"
For the x64 clients we can use the same query but we need to replace “X86-Based PC” with “X64-based PC”.
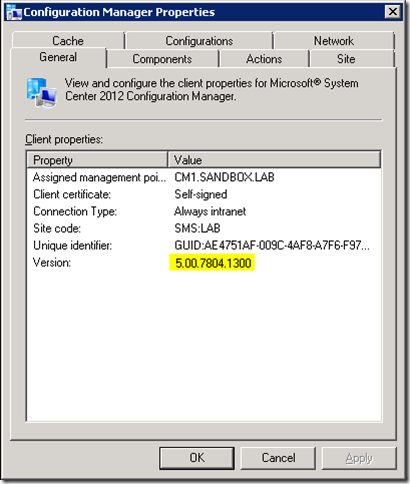
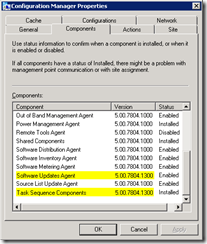
Once the CU2 has been applied the client version number is changed to 5.00.7804.1300.
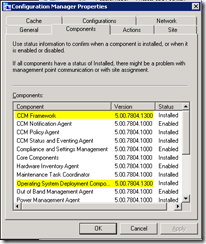
Some of the client components also get the 1300 build number:
If you would like to build additional collections for the SP1 CU2 clients you can use this query:
- select * from SMS_R_System inner join SMS_G_System_SYSTEM on SMS_G_System_SYSTEM.ResourceId = SMS_R_System.ResourceId where SMS_R_System.ClientVersion = "5.00.7804.1300" and SMS_G_System_SYSTEM.SystemType = "X86-based PC"
Again replace the "X86-based PC" with "X64-based PC" for the 64 bit clients.
The implementation of Cumulative Update 2 in our lab environment is now completed.
Until next time!
Tim

